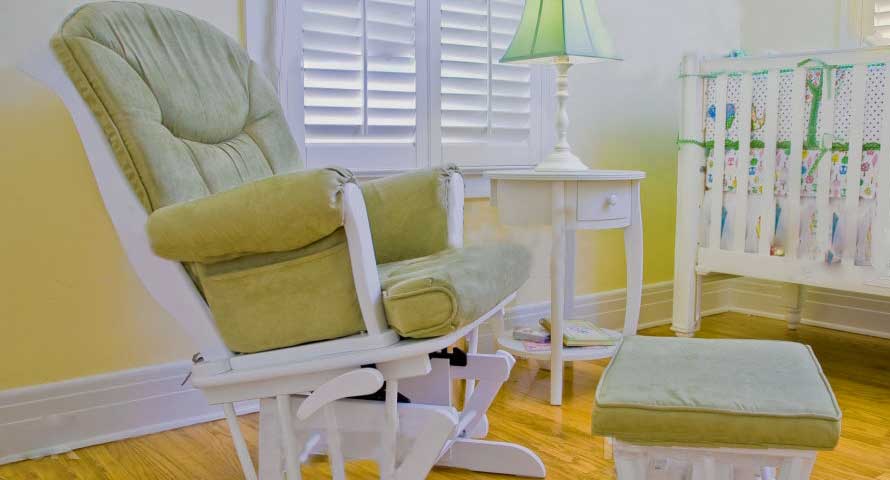
It is comparatively easy to buy a glider rocker. Normally they are sold in furniture shops, online sites retail stores, or second-hand shops. But when you want to match with nursery room; it is a little tricky to match from default factory upholstery.
On the other hand, if you buy a second-hand glider rocker or it’s one of the Best Nursing Chairs, naturally your mind may thirst for a unique look of the product.
That is the reason, you should learn to reupholster a glider rocker cushion on your own, And even if you have no sewing experience you can do to recover a glider rocker.
So, learn how to recover a glider rocker without sewing experience-
Process 1: Using Velcro Brand Fabric Fusion Tape
What items will require:
[su_list icon=”icon: hand-o-right” icon_color=”#567ac3″ ]
- A glider rocker that will be recovered
- Fabrics that recover the glider cushion. And Buy your enough favorite color upholstery fabric
- Velcro Brand Fabric Fusion Tape ; the alternate way of sewing process
- Hot Glue as a substitute for needle and thread (sewing)
- Scissor
- Seam ripper
[/su_list]
How do, Step by Step Process:
[su_list icon=”icon: hand-o-right” icon_color=”#567ac3″ ]
- Firstly uncover the chair and see the glider’s structure; if it is ok for use
- Then remove the current fabric of the cushion. In this case, use a seam ripper to rip out buttons and do it carefully as if the cushion remains good. You may need scissors to do it perfectly.
- Now place new upholstery fabric on a flat space and trace around the cushion using chock. Make sure you have sufficient fabric to wrap the cushion and for adding fold.
- Now cut the marking part. And wrap it like a gift box to confirm it looks good and smooth. Also, be sure the joint will be placed on the bottom or back part.
- In this portion fold the edge of the fabric and make it stable using glue. Now pill the Velcro fabric tape and stick on the seam of fabric. And put the opposite part in the same way.
- Now ready to use in the chair
Process 2: Make Upholster Using Removable Zip-off Cover
What items will require:
[su_list icon=”icon: hand-o-right” icon_color=”#567ac3″ ]
- Hot glue gun
- Glue
- Hem tap
- Canvas cloth/medium to heavy-weight fabric
- Muslin fabric
- Iron
- Zipper
[/su_list]
How do, Step by Step Process:
[su_list icon=”icon: hand-o-right” icon_color=”#567ac3″]
- You have another option without Velcro tap. That can be done by removable zip off cover.
- Firstly hem each edge of muslin fabric and the upper Canvas cloth using hem tap. Just put the hem tape on the edge of fabric. Fold it and iron on there, press down, and hold about 90 seconds. If they not joint strongly take more few seconds.
- In this step, attached one part of the zipper with muslin fabric. The glue should be used on the fabric part of the zipper and also make sure no glue spread out on the cloth and no glue stick over the zipper opening-closing part. Thus you may be in trouble to fulfill the aim of zipper.
- Once it is complete join another part of the zipper with canvas fabric following the same process.
- Now you are on the way to the goal. Just close the other 3 parts of the two fabric using glue. And make sure there is no opening part that exists in the three parts.
[/su_list]
However, In this case, attaching gripper may seem a little tricky. But visual guide makes it easy to capture. This video may help to assemble the cushion with zipper :
[su_list icon=”icon: hand-o-right” icon_color=”#567ac3″]
- When it is ready you will be able to hold in cushion, just open the zipper, stuff cushion and close cover using zipper off.
- Finish the task. Now put in the cousin and enjoy with recovered glider rocker
[/su_list]
This option is very useful as after a few days’ usages it becomes very messy and needs to clean a regular basis. Just open the zipper; pull out from the cushion and wash to ensure hygiene in the nursery room.
Finally, this is a very easy DIY project to replace the upholstery of a glider rocker; no need to have sewing experience. But definitely the sewing process makes it more durable. However, you finally recreate the glider matching look with the theme of the nursery room. And really return a very good feeling when you have done yourself at home.

